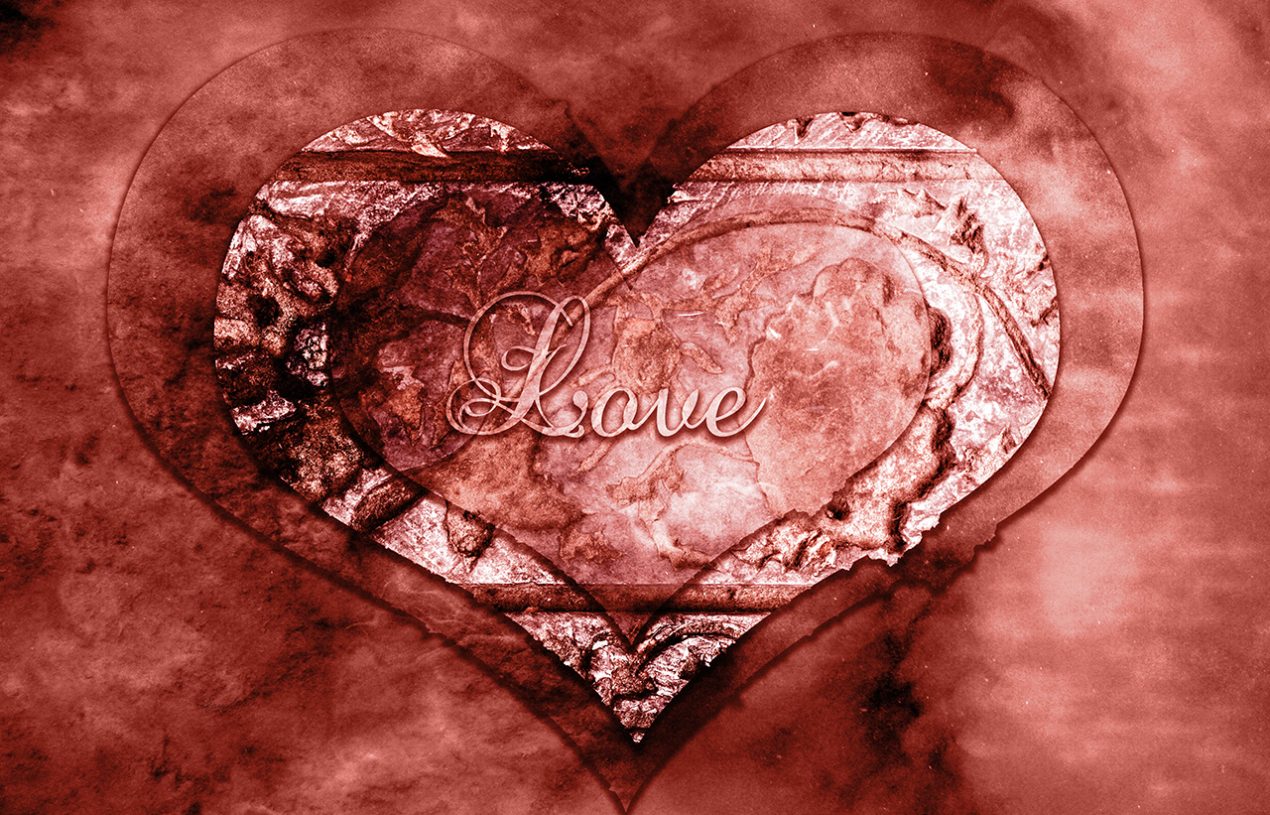
If you recall, one of my goals was to do a video showing my work process from beginning to end. This is not quite a video, but instead a step by step of my Ink Stamp Heart image with photos. I created these photos after the image was complete. Mostly because if I showed you all the deleted and rejected versions, it would take you all day to go through them. I love to experiment, sometimes it works, sometimes it doesn’t.
Image Layers
This is the original image. I found this old, wooden ink stamp in an antique store years ago. I knew that I would want to do something cool with it, I just didn’t know what.

Original photo of an old ink stamp
Using a Topaz Adjust filter, I gave the image a boost. The shape tool in Photoshop helped me create a heart mask. So the mask would not have a perfect edge, I used small brushes to roughen the edges because love isn’t perfect.
I copied the first layer, sized it down, kept the drop shadow, and deleted the Topaz filter. I kept both of these layers as smart objects, so that I can go back and change them later if I need to.
Texture and Background
Smoky black and white images helped me create a texture on the background. While a mask with a drop shadow created another heart. Additionally, I used an odd shaped brush to give even more texture.
It’s all about Love, isn’t it?

All layers before the color is added. I admit that I kind of like it that. Maybe I’ll make a black and white with no color also.
Final Image
Finally, I added a black and white adjustment layer with a red tone, added my signature, and saved it. Blend modes on layers are great to play with!

Love stamped on hearts
This image is available as a print, greeting card, and other accessories on my website.
To see heart art by other artists, click here.


